
How to upload a profile picture
How to upload a profile picture
Uploading a profile picture to your Zoom account can be useful if you need to disable your camera during a Zoom session, perhaps due to network issues, as people will still be able to see your image without needing to have your webcam on.
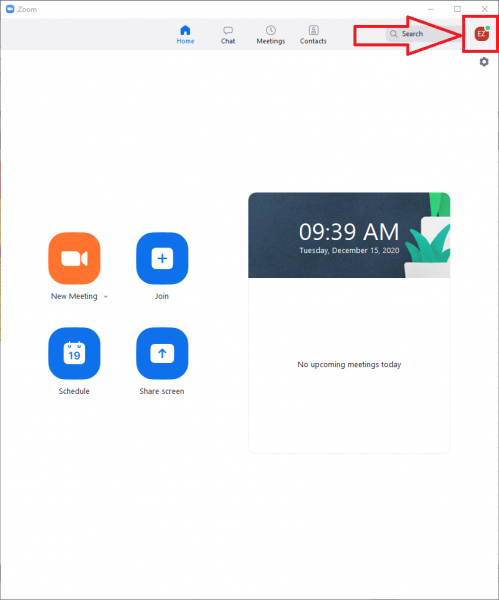
- Click on you initials in the top right of the Zoom app (if you are not already signed in, then please see how to sign into the Zoom app)
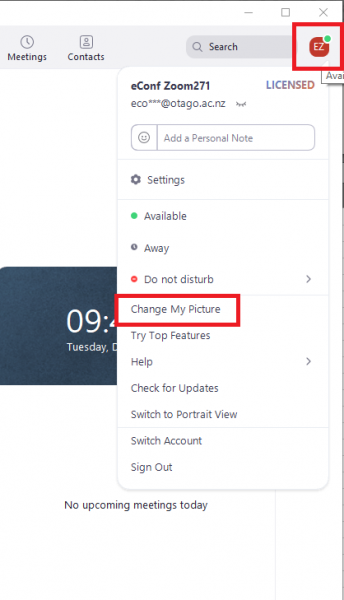
- In the menu that appears, click “Change my Picture”
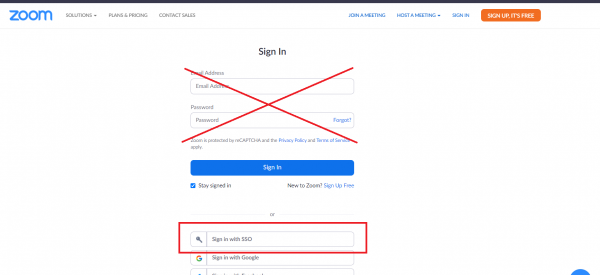
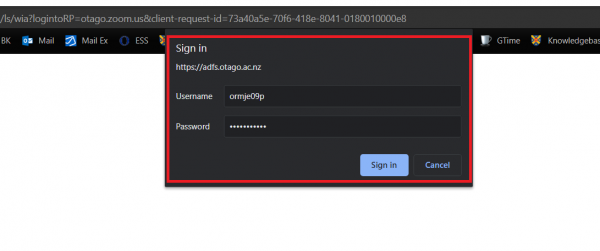
- A web page will open and prompt you to sign into your Otago Zoom account (if already signed in, skip to step 6). Click the “Sign in with SSO” option part way down the screen (not the email address and password).
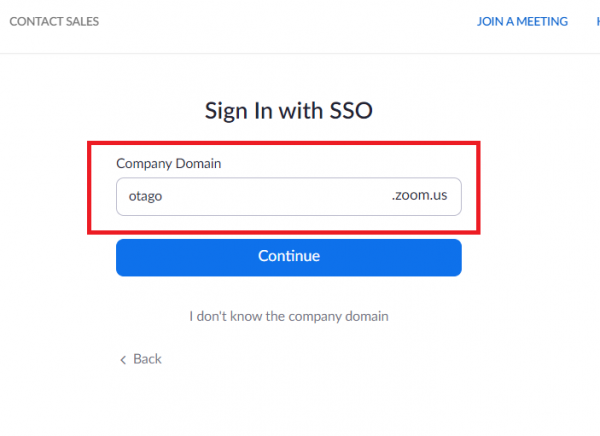
- If prompted, enter “otago” as the Company Domain, then click continue.
- Enter your normal Otago staff/student username and password.
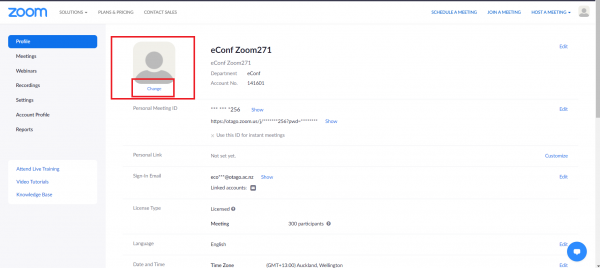
- You will now be on your Zoom profile page, click “Change” under the grey avatar.
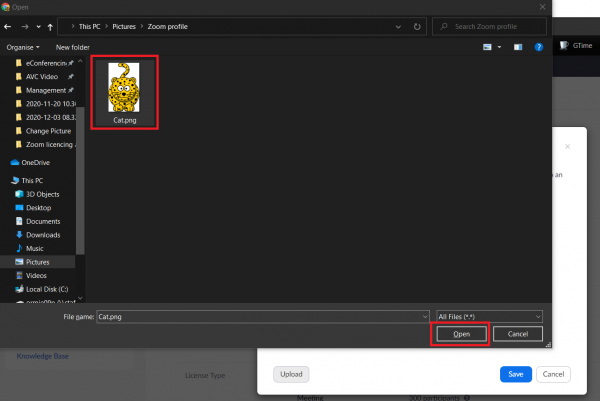
- In the pop-up window click “Upload” (note the guidelines at the top around acceptable file types and max. size)
- In the file explorer/finder window that appears, locate the picture you want to use saved on your computer, select it and click open.
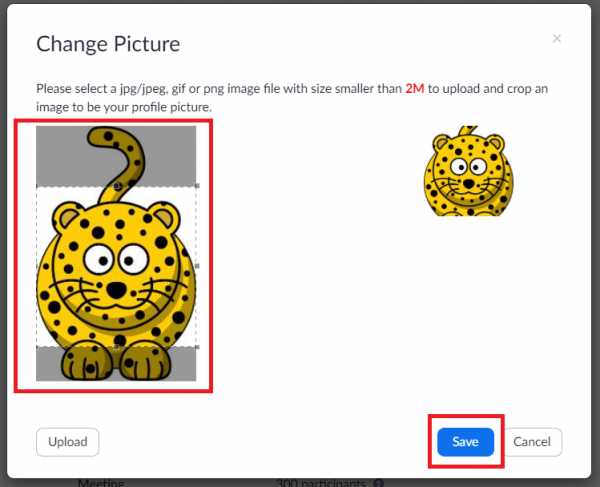
- Adjust the framing of the picture to your preference then click “Save”
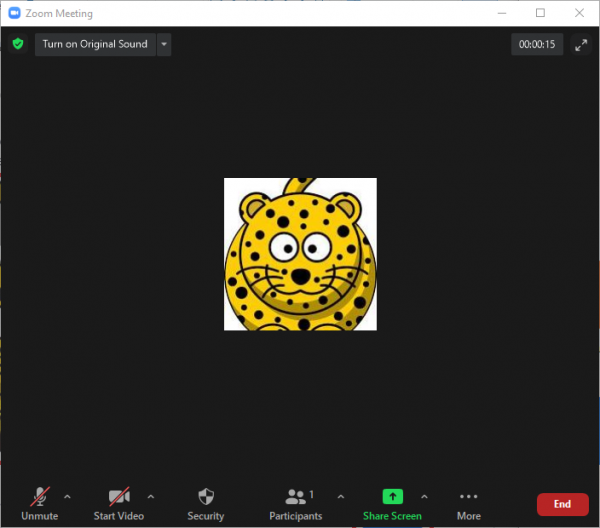
- Your new profile picture is now saved and will appear in Zoom when you turn your camera off.
Below are screen shots of the above process:
1.
2.
3. 
4.
5. 6.
6.
7.
8.
9.
10.
Also, here is a video demonstrating the process when logging directly into your Zoom account: