
How to enable cloud recording
To enable the cloud recording option on your Zoom account you will need to do the following:
- Login to your Otago Zoom account on your browser (https://otago.zoom.us/signin)
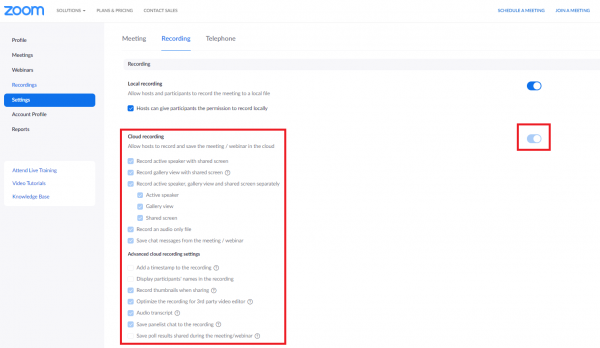
- Go to your Settings tab on the sidebar.
- Click the Recording tab at the top of the page.
- Click the grey slider to enable cloud recording, the slider will turn blue once saved.
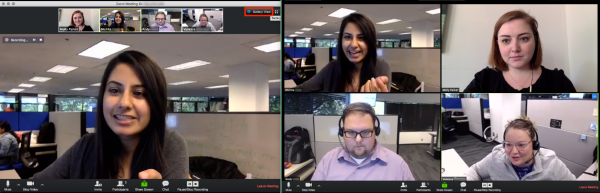
- (optional) You can also tick the other boxes depending on how many different view options you would like recorded, e.g. active speaker view (left image below), gallery view (right image below) or both.
- (optional) You can also choose whether you would like to record an audio only file, get an automatic transcription, save the meeting chat and/or add a timestamp to the recording.
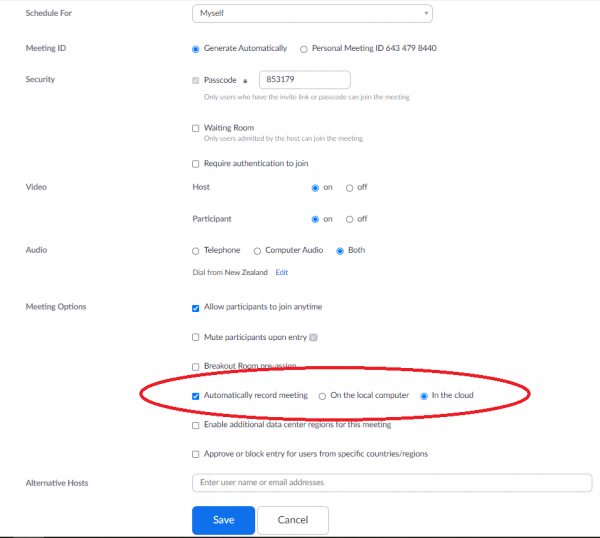
- (optional) You can set your meeting to auto-record to the cloud if you are joining from a room or lecture theatre where you are not signed in as the Host.
When you record to the Cloud in Zoom it will automatically transfer the recording to your Echo360 library so it can easily be published for your class. More information about the auto-transfer to Echo360 can be found here.
You will notice that the auto delete cloud recording setting is enabled (this is account wide and you will not be able to change this). This is to assist us in managing the large volume of recordings and to ensure we do not go over the allocated storage space provided by Zoom for the University as a whole. We highly recommend you download a copy to your computer every time you record to the cloud as the file will be deleted from Zoom’s Cloud storage after 14 days. If you forget to download a recording in the time frame you can learn how to recover it here.