
Cloud Recording
Cloud recording guides:
How to enable cloud recording
Downloading and sharing cloud recordings
Automatically Transcribe your Zoom Recording
Recovering deleted recordings
To record to the cloud you will need to ensure you have enabled cloud recording.
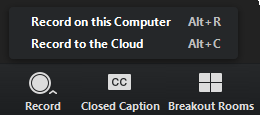
In the zoom meeting simply click the record button and choose record to the cloud. If you select record to the cloud the video, audio and chat text are recorded to the Zoom servers which can then be downloaded and shared later. If you record to your computer it will record a file straight into a folder named Zoom (usually in your Documents folder). Cloud recording can be helpful if you are not using your own computer as you can download it to your own computer later.
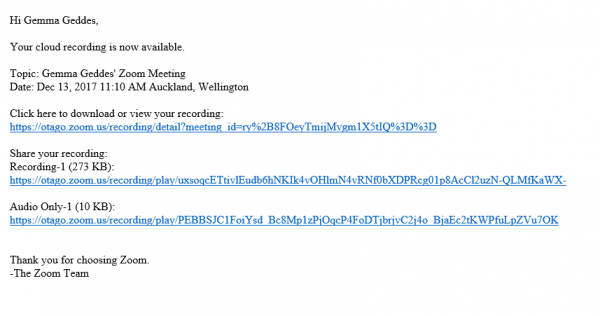
Once the meeting is finished the file will process, and you will receive an email advising you that your recording is now available.
You can also check the progress in your Zoom settings online, under the recordings option in the sidebar. To access this, go to otago.zoom.us and sign in with your University of Otago credentials.
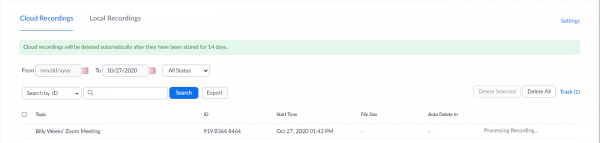
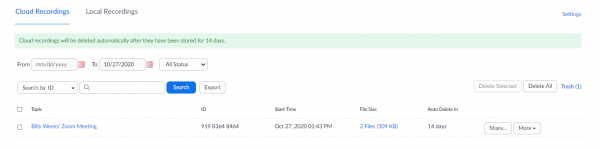
When your recording is ready to view you can click on the topic to see the files that have been recorded. You can then watch the recording, download it, share it with others or delete it.
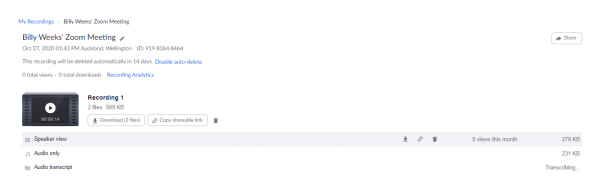
Please ensure you manage your recordings and download them before they are auto deleted by the system after 30 days.