Focus stacking images using macro or stereomicro photography equipment and Zerene stacker
This article has been specifically written for using the macro-photography setup or the stereomicroscope setup in the Imaging Lab (formerly called the Graphics Lab) in the geology department. Instructions are for using Zerene stacker to stack the images rather than photoshop because it is faster, easier and produces better results in all cases that I have seen. For example Zerene Stacker took 72s to stack 11 images and photoshop took 125s, the difference in stacking speed is even more pronounced when more images are used.
This post supersedes the previous focus stacking post I wrote which recommended using photoshop.
Focus stacking images
This article has been specifically written for using the macro-photography setup in the Graphics Lab in the geology department and Adobe Photoshop CS5. Concepts are applicable to other equipment and versions of Photoshop.
UPDATE:
I have made a new post with instructions using Zerene stacker to stack the images rather than photoshop because it is faster, easier and produces better results in all cases that I have seen. For example Zerene Stacker took 72s to stack 11 images and photoshop took 125s, the difference in stacking speed is even more pronounced when more images are used.
Macro-photography setup
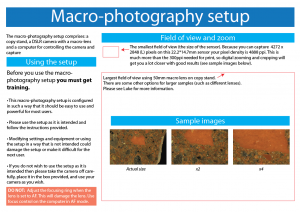
The macro-photography setup in the Geology Department, University of Otago, comprises: a copy stand, a DSLR camera with a macro-lens and a computer for controlling the camera and capture.
What is it for?
Taking photos of samples, specimens etc. close up. The setup has a maximum field of slightly smaller than an A4 sheet of paper. The smallest field of view is the size of the sensor: 22.2*14.7mm. Because you can capture 4272 x 2848 (L) pixels on this 22.2*14.7mm sensor your pixel density is 4888 ppi. This is much more than the 300ppi needed for print, so digital zooming and cropping will get you a lot closer with good results (see sample images in poster below).


