
Working with Wikis (websites) on blackboard (v9.1)
This page explains the basics of working with wikis (websites) on blackboard Learning management system. Instructions apply to version 9.1. Have a look at the planning section below, then check out the video or text instructions.
[Instructions UPDATE (8/9/2015)]
Here are a couple of tips to make things a bit easier:
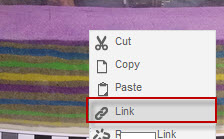
Image sizes: Blackboard automatically resizes to 350px wide in order to fit within the window. So if you want a larger image the best approach is to link to a larger version by right clicking on the image and click on the link icon.
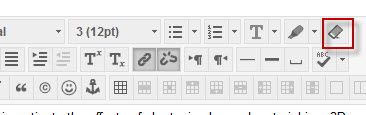
Clear formatting: If you copy and paste text from other software like ms word it may have weird and mismatched formatting. To fix this simply click on the clear formatting tool.
Planning your wiki (website)
It’s a good idea to plan how you want your wiki to look before you get started. Blackboard wikis don’t really have any structure enforced so it’s up to you how you design it. Some things to consider:
- Organisation and navigation: What pages will you have? How will they be linked together? A common method is to have a hierarchical navigation (similar to sections and sub-sections in reports)
- Have a look around at some other websites to see how content, links and navigation work.
- Blackboard will not let you delete pages, so don’t create more pages than you need, you can always repurpose the pages as you see fit.
1.1.1 Website design and content tips:
- Write plain English! Keep it simple so that people can skim and find what they need to.
- Use headings and formatting to make your content easier to navigate
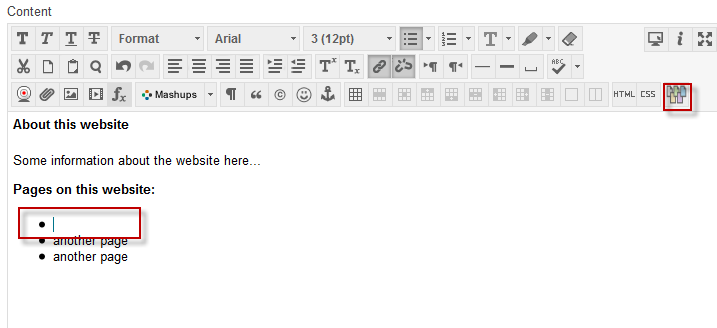
- Don’t embed links with a paragraph. Try to put them on their own line with a bullet at the start:
- Provide descriptive captions and alt text for all images
Working with wikis video instructions
httpv://youtu.be/78Tlm81w1hA
Working with wikis text instructions
1.1 Find the wiki and create the first page
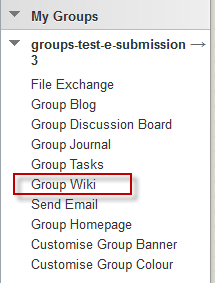
- In 275/375 blackboard go to “My Groups” on the left hand side Click on the drop down to reveal options for your group.
- Click on “Group Wiki”
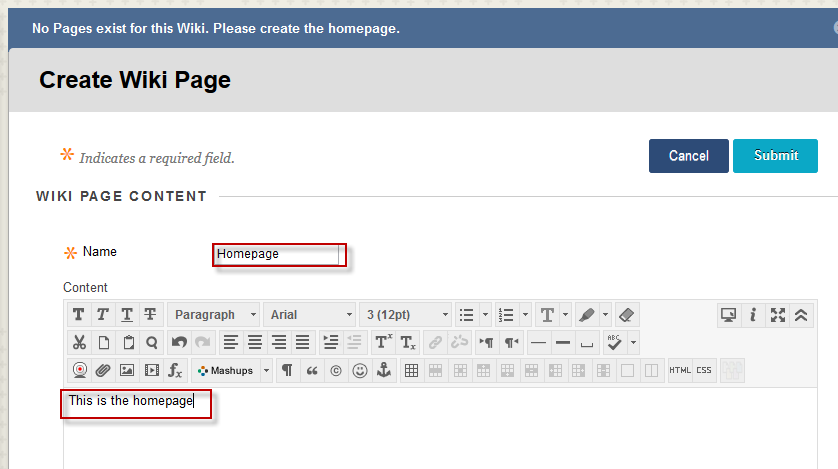
- If no pages have been created you will be prompted to create a first page
- Give your homepage a name and put some content on it. Here is some suggested content for the homepage:
- Click Submit to create the page.
1.1 Creating pages and linking them together
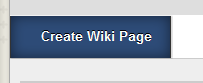
- Create another page on your wiki by clicking on Create Wiki Page
- Call this page “About [insert groupname]”
- Add some content, such as a list of members and roles etc.
- In blackboard the current page is on the left hand side and the list of pages is displayed on the right hand side.

- Now that we have a couple of pages we can link them together. It’s a good idea to use the homepage as a way of linking to the other pages.
- Open the homepage and Click on “edit wiki content”
- To create a link to another page click the cursor where you want to insert the link and select the link to wiki page icon

- Choose the page you want to link to and select
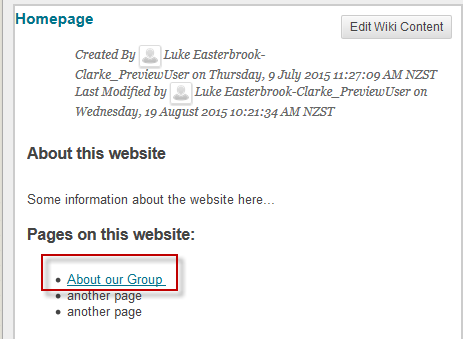
- Now click Submit to apply the changes to the homepage
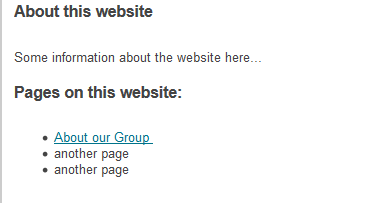
- Now when you look at the homepage there is a link to the “About our Group” page
1.1 Formatting text
There are various options for formatting text in the toolbar above the Edit content area. Most of these should be pretty self-explanatory since they are the same icons you are used to in other software.
- To find out what an icon does hover over it or just click on it and give it a go!
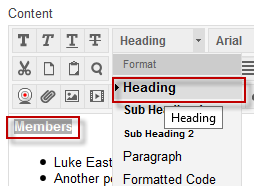
- You can use headings by highlighting text and selecting from the format dropdown menu:
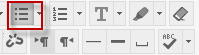
- Click on the bullet list icon to get a bulleted list
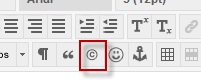
- Access symbols by clicking on the symbols icon:
1.1 Adding images
- Create a new page called “Experiment setup”
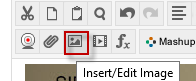
- Write a description of the experiment setup and then add a photo or diagram by clicking on “Insert/Edit Image” icon.
- This will bring up a window. Click on the Browse my Computer link to find the image you want to add.
- Use the options on the “Appearance” tab if you want to change the size of the image etc. you can also resize the image on the page by clicking and dragging from the right hand corner
1.1 Adding movies
Embedding movies into blackboard wikis is a bit problematic because it requires that 1) the movie is in a format that Blackboard can recognise. 2) the correct plugins are installed on the computer/browser in order to play back the movie.
Instead of embedding the movie you should add it as a linked file.
- Click on the “Insert File” icon
- Browse your computer and select the movie you want to attach. Change the name of the link if you want and then click Submit
- This will create a link to your movie which opens in a new tab. either the browser will play the video or it will be downloaded when you click on the link.