
Blackboard wikis and student group assessments
Wikis are a terrific – and underutilised – tool for enabling students to work collaboratively on projects.
There are two separate wiki systems available to Otago staff. Otago Wikis is a standalone offering with advanced features, which can be made available to the public. Blackboard wikis (which I will focus on today) is a more basic system that is available within Blackboard.
Wikis are easy for any coordinator to set up within a Blackboard paper, and offer a powerful resource for allowing groups to build up a large document with contributions from many individuals.
If you assign group projects in your course, wikis represent an effective way for your students to collaborate on the manuscript for a presentation or report. An additional benefit of wikis in this context is that the input of individuals is tracked, so it is straightforward to gauge and grade not only the final product of the group as a whole, but also the contributions of given members.
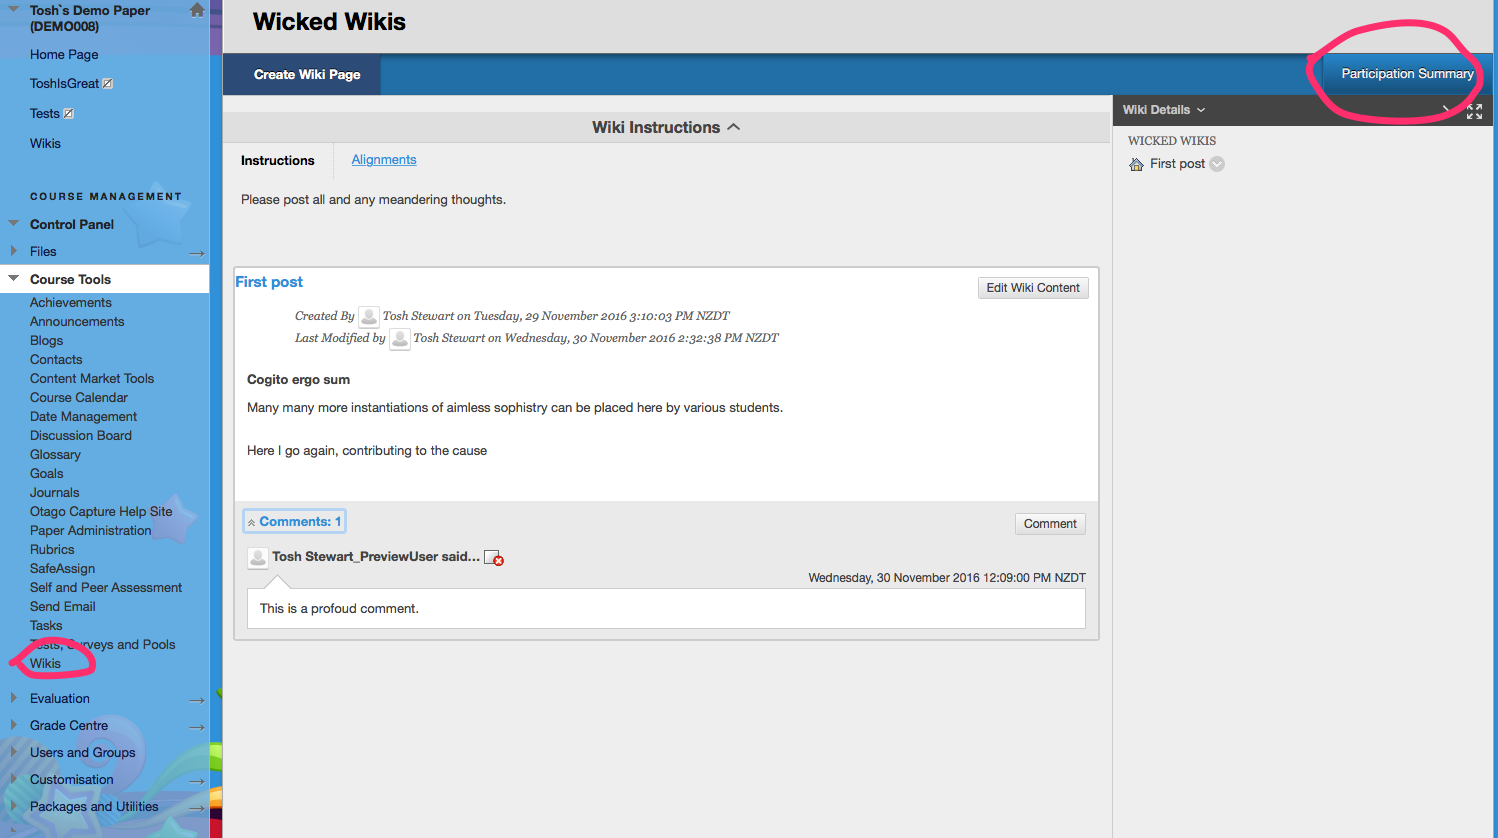
To set up a wiki, select the ‘Wikis’ option in the ‘Course Tools’ menu in your Blackboard paper. Once it is set up and students have built a page, you can investigate the history of that building process using the ‘Participation Summary’ function. These links are highlighted in the screenshot above.
Within the Participation Summary, select a given user to track and (if desired) evaluate the contributions she has made to the overall project. This information can be presented in a helpful ‘Page Comparison’ view, as in the example shown below.

Beyond student group assessments, there are many possibilities for incorporating wikis into your teaching praxis. For example, some lecturers use wikis so their students can contribute to building up an annotated bibliography as the course progresses. Others use wikis as an ongoing lab journal.
More information on setting up and using Blackboard wikis can be found on our Otago Blackboard helpsite for staff.
Inline grading with Blackboard
Online submission of assignments through Blackboard is now very common at Otago. Many lecturers choose to download their students’ submitted essays to their computer and edit the documents to provide marginalia, comments, and other alterations, before re-uploading. Marking in this way on your own computer is relatively straightforward using Microsoft Word’s reviewing functions, or other third party software.
However, an alternative method of providing this feedback to students is to use the “inline grading” functionality which is built right into the Grade Centre in Blackboard. Inline grading uses a tool called “crocodoc”, which has been part of Blackboard for Otago users since an update in December 2014. When marking using inline grading, all the alterations are completed within Blackboard itself. Mark-ups are automatically saved and can be returned to later.
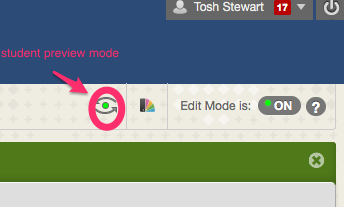
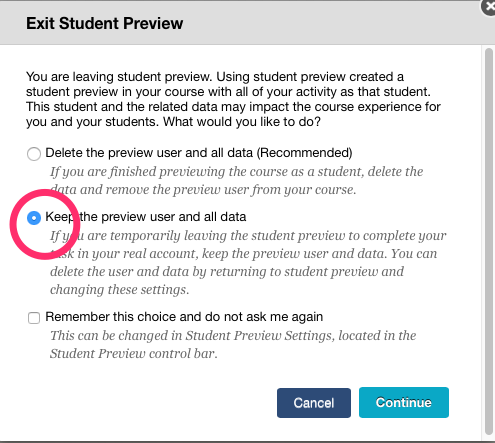
To use inline grading, visit the Grade Centre, and select an assignment to mark. You may want to enter Student Preview Mode and upload an assignment of your own that you can experiment on. In preview mode, visit the assignment as a student, upload it, and then exit preview mode, being careful to select the option to keep your preview data.
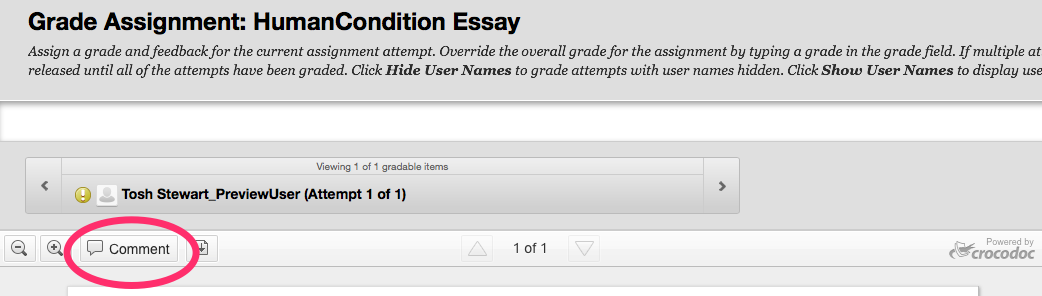
If you then find and bring up your assignment in the Grade Centre, you can see a button which says “comment”. Clicking this brings up the series of tools you can use with inline grading.
Inline grading offers several benefits over downloading-and-marking. Firstly, the interface for crocodoc is very simple, and includes all and only the tools a grader will typically need. To my eye, at least, this makes inline grading more straightforward to use than Word’s reviewing functions.
Secondly, inline grading cuts out the steps of downloading the essays, opening each, resaving each with alterations, and then re-uploading the new version to Blackboard – so it may be more time efficient. Because all the data is continuously stored and ordered online, inline grading simplifies the task of organising and keeping track of student files.
On the other hand, a drawback to inline grading is that an internet connection to Blackboard is required at any point when one wishes to mark. The system also may not work particularly effectively on tablet devices.
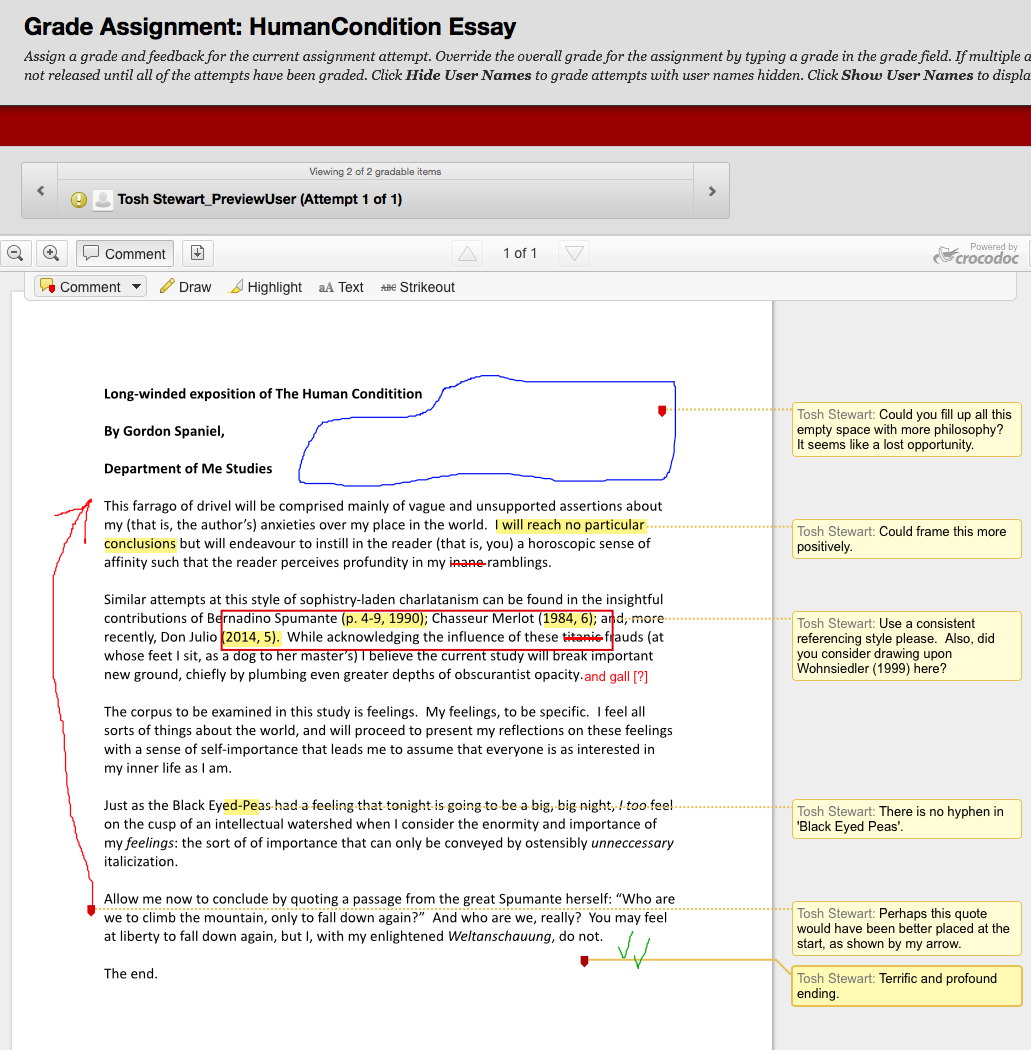
In the screenshot below, I have marked up an example essay, which demonstrates the range of reviewing functions that crocodoc allows.
Further instructions on the use of inline grading are available on our Blackboard Helpsite, or on Blackboard’s short tutorial video (less than three minutes).
Course Files and the Mystery of the Missing Space
 It’s a classic tale of whodunit – you clear out all your superfluous files in your Blackboard paper and yet still you’re out of space. Let me introduce the culprit – Course Files.
Course Files is a handy feature of Blackboard unknown to most users. Course Files, put simply is an area where all the files from your Blackboard paper are stored. They are filed away nicely in folders that mimic your content areas (i.e Course Documents, Course Information). Once you add a new file to a course area it gets listed in your Course Files for you to reuse again and again in other areas of your paper. This reuse feature means you only have to upload a file once – saving your quota. The trap for young players comes when you decide to delete a few files. Dutifully you delete the files from your content areas to free up space but surprisingly nothing changes. The files are now missing and yet you still have no space to upload new files. Why? Course Files stores all your files like a big filing cabinet – deleting from a content area simply deletes the link to that file but the file itself remains in Course Files for you to reuse again in future. In order to free up space you need to remove the files from Course Files as well.
Removing files from Course Files isn’t tricky and it is a good idea to keep any eye on what’s in there – you don’t want to find you have ten copies of OtagoClocktower.jpg taking up valuable space. To view your Course Files area follow these steps:
- Log into Blackboard and open up your paper
- Click Files from the Course Management menu on the left hand side of the screen
- Then click your paper code
- This will open your Course Files area on the right hand side of the screen
To view how much space your files are currently taking up you can click the contextual drop down menu next to your Course Files title (will look like Files: COURSE_CODE – where COURSE_CODE is your paper code). Select 360° View and look for the Folder Size value.
The end of semester is the perfect time to review the contents of your paper and clean it up in preparation for a rollover – do you really need all those old files from 2005?
