
So long and thanks for the cake…
As my eight-and-a-bit years in eLearning draws to a close I’ve had a chance to empty out my desk and rediscover a multitude of things. A few of these items have sparked a trip down memory lane and reminded me just how far ITS has come in terms of eLearning and everything else surrounding it.
Who remembers filling in paper request forms for podcasting sites? I found a decent stack of those hidden in a bottom drawer. Or perhaps you have fond memories of the lilac coloured Blackboard training pamphlet – oh to be able to fit all the information about Blackboard on an A4 piece of paper now. Ferreted away in another drawer I found all the instructions for using Otago Connect – a now retired service. I’ve also hidden some rather fetching marketing posters and flyers that probably should never see the light of day again.
When I started eLearning was a team of one (two once I worked out what was going on) and we proudly supported 3 services. Now as a team of four we’re looking after 7 services (and counting) as well as getting out and about as often as possible to show everyone what it is we do.
So, this is me signing off as an eLearning and eResearch consultant – thanks to everyone I’ve come in contact with along the way. It’s been a memorable eight years and I’m excited to see what the next eight years brings for the department – a team of 8 and perhaps 20 services?
Automate, automate, automate
eLearning is pleased (let’s be fair I’m pretty ecstatic) to announce that on Wednesday, 8 February 2017 a new version of the Blackboard Administration for Staff application is being released. We’re very excited about this release as it introduces a lot of new features designed to save everyone a lot of time and provide a better experience for users.
Did you know that our current rollover process goes a little something like this:
- Staff member requests a rollover by filling in a rollover form online.
- Rollover form details get sent by email to the ITS Service Desk.
- ITS Service Desk copy all the details from the email into an Ask IT call and double check things.
- The Blackboard Administration team get the Ask IT call and copy the details from there into their Blackboard Administration application, then they do lots of mouse clicks and a little bit of magic (70+ mouse clicks) and finally they let the requester know it’s finished.
- Then rinse and repeat at least 1500 times a year.
The new application automates a lot of this process – but don’t worry, if you need help there is still a real person you can call for help.
The new features include:
- Request your own Blackboard rollovers – if they’re standard ones they’ll finish in 15 minutes rather than 5 days.
- Register new Blackboard papers – again if it’s a standard request it’ll take 15 minutes.
- Check the status of your Blackboard paper – easily see when your students are going to get access.
- Find out how much space your paper takes up on Blackboard.
- And much more…
Who wants a sneak peek at what things are going to look like? Go on…
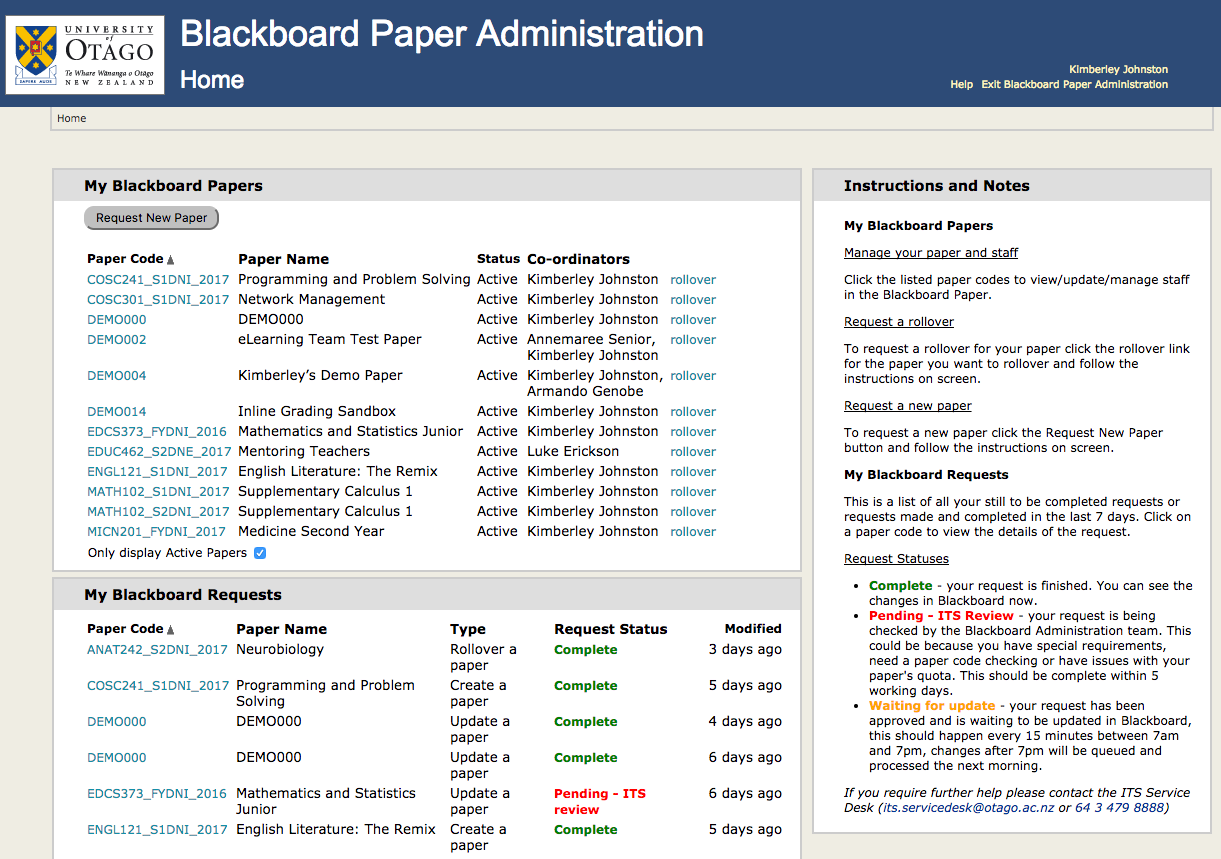
On the home page you can see all the Blackboard papers you have access to as well as all your Blackboard requests. From here you can request rollovers, new papers and manage the staff in your papers.
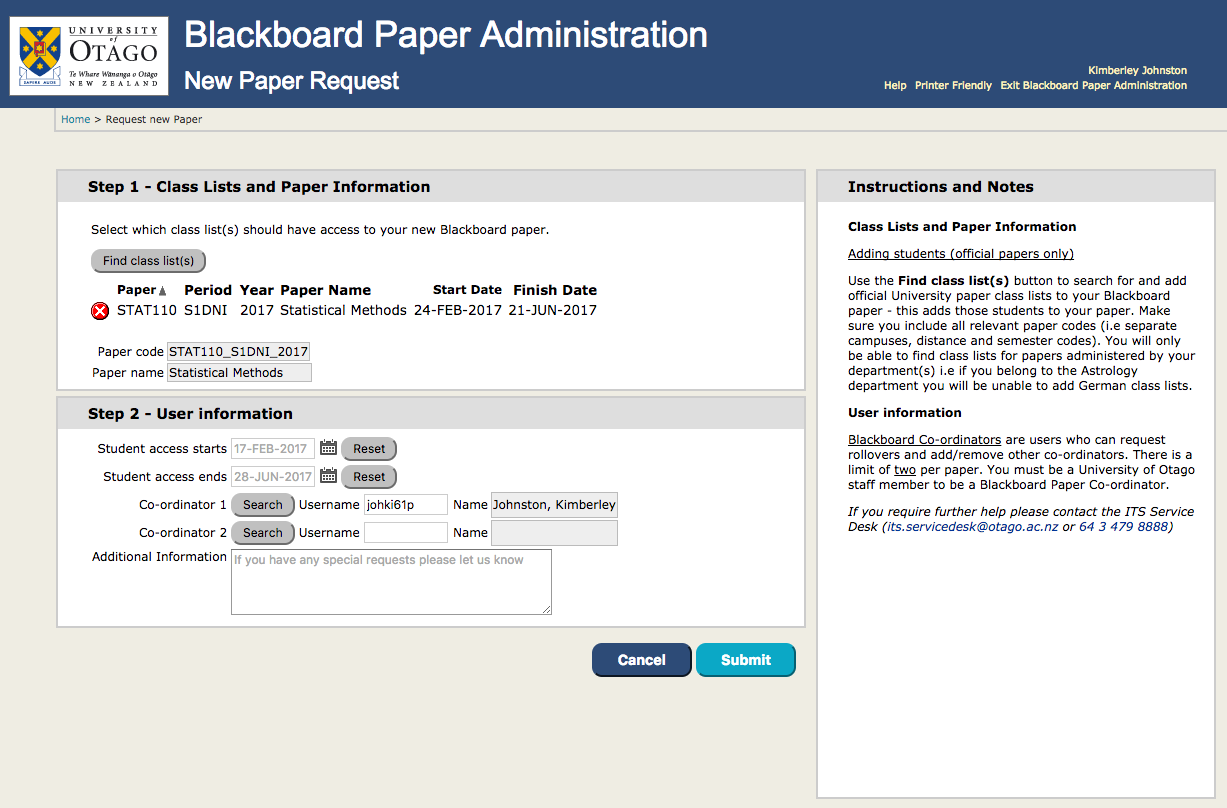
This screen shows you how easy it is to request a new Blackboard paper. Find your class lists and select the dates for when your students need access. Click submit and wait 15 minutes. Voila!
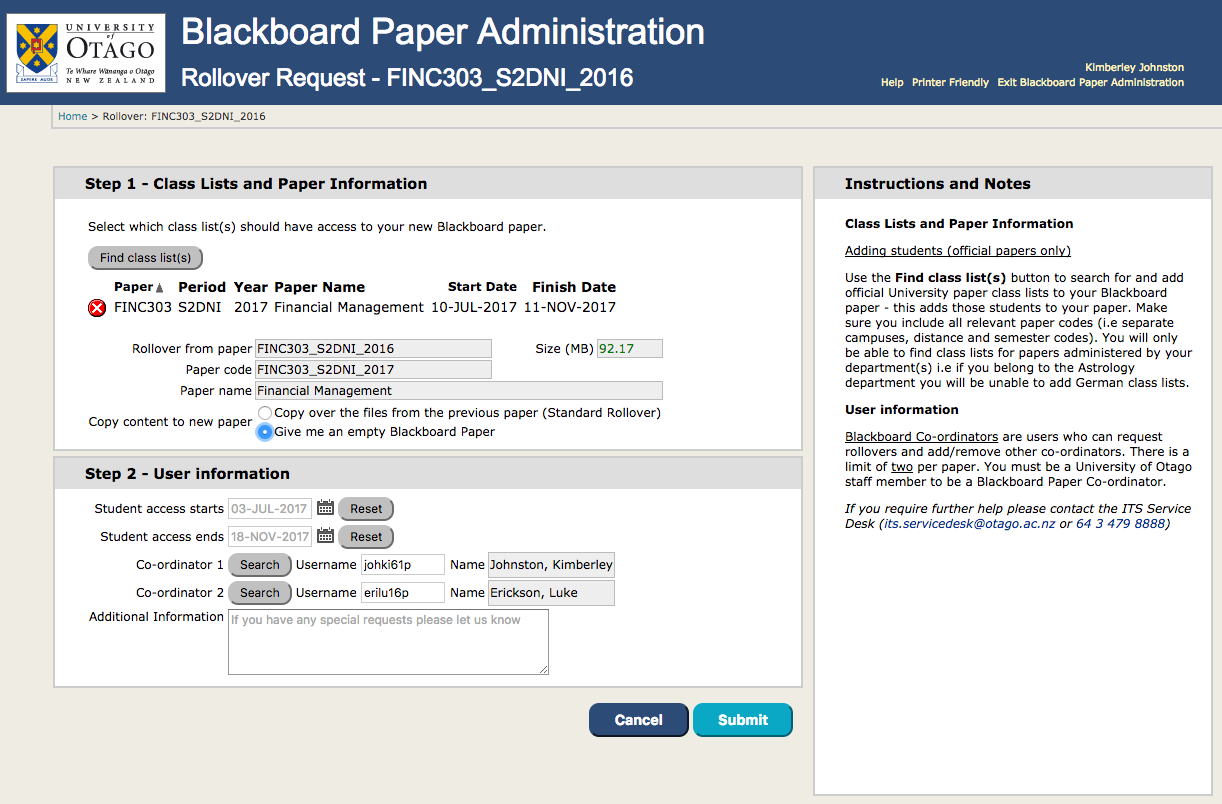
This screen shows a rollover request. Simply select the class lists for the new paper and update any of the other details, click submit and off you go.
eLearning received a lot of help from end-users so we’ve been able to work closely with the application developer to make it user friendly and intuitive. Hopefully you’ll find it as easy as we hope you will.
You’ll be able to find information on how to use the new features on the Blackboard help site and within the application itself: Blackboard Help site – Blackboard Paper Administration Application .
Landing Pages – Blackboard
I’ve been out and about for the last week or so doing one-on-one user acceptance testing and in each session I inevitably get asked a Blackboard question. This little tip is the answer to one such question.
Most users of technology are now very used to the idea of a landing screen filled with a grid of icons that open various applications and websites – just like a smartphone or tablet. The user in question wanted to create a grid of links to items useful for a course of distance students who have never been on a University of Otago campus. Links would include the Library, Distance Learning office and lots of other useful things to help students find their place in the world.
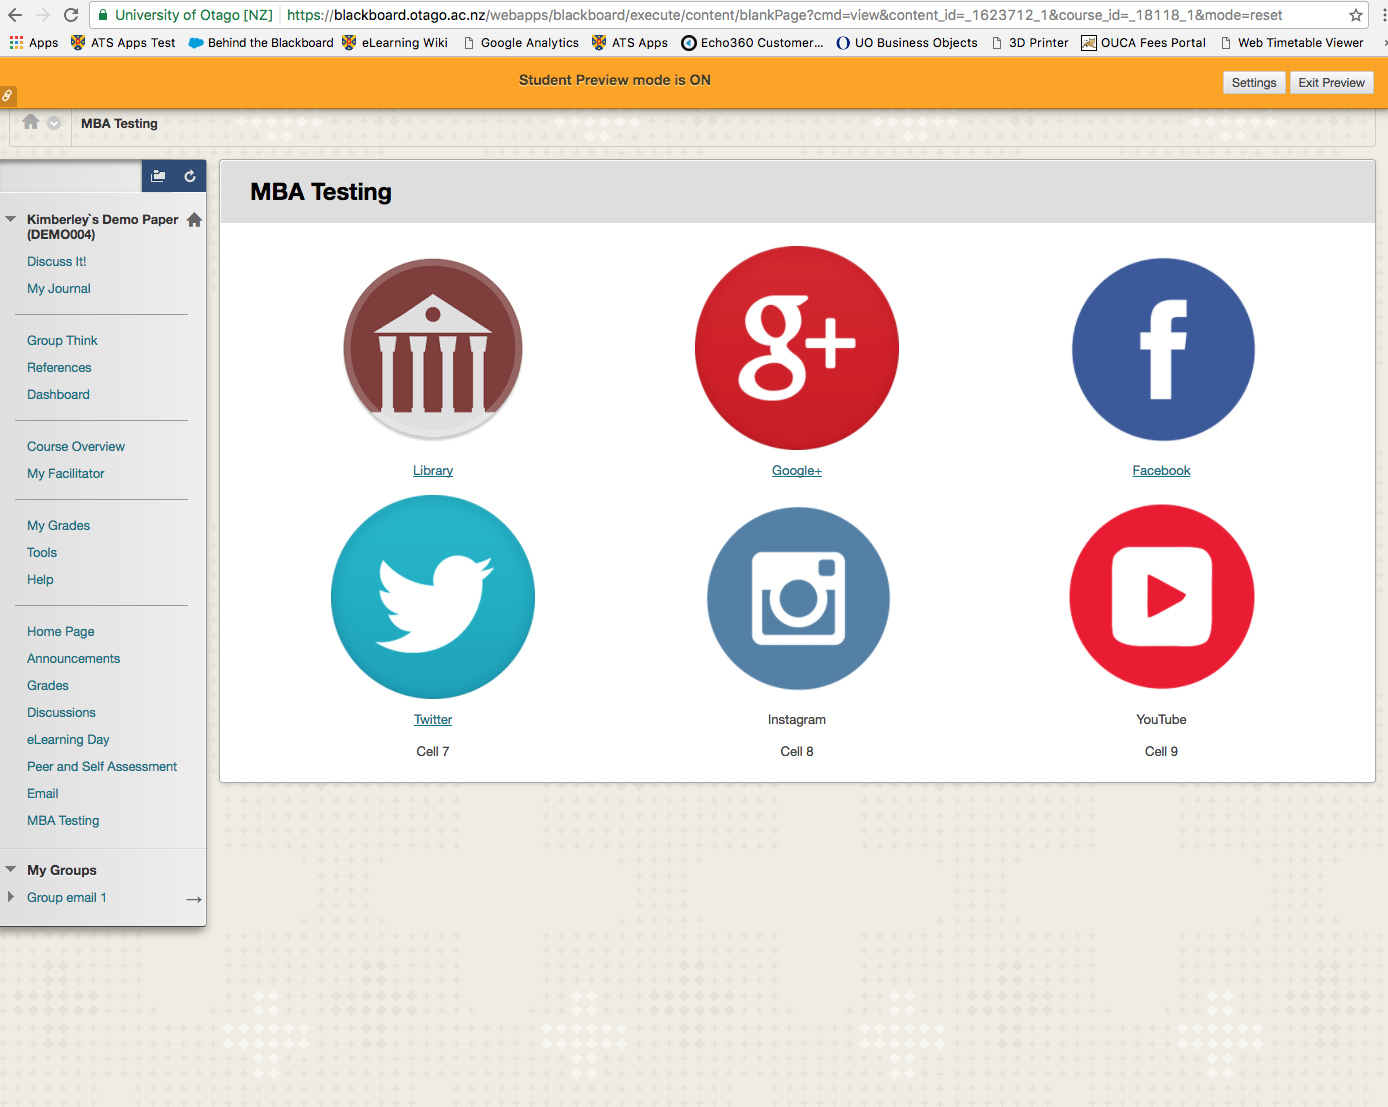 After thinking about this request for a while I realised there is a simple (not necessarily elegant) solution to achieve this in Blackboard. The solution needed to be something any user could create and maintain – so a whole load of complicated coding was out of the question. What follows are instructions to create a Blank Page in your Blackboard paper, create a table of icons (or images) which are also links. There are also instructions to make this page your default Home page for your paper.
- Log into Blackboard and open your paper.
- Go to the + symbol on the top left of your course menu and click it.
- Select Blank Page from the drop-down menu.
- Give the page a name – perhaps Home.
- Add a table to the content (it’s a grid icon on the bottom row).
- Select the number of rows and columns you want (I opted for 3 by 3), set the height and width to 100%, leave the border at 0.
- Insert an image (if you want one) into each cell. In the Appearance tab of the Insert image page set some dimensions – I opted for 200px by 200px for every image to keep it consistent and neat.
- Under the image add a title for the link for example Library.
- Highlight both your text and image and click the make link icon (it’s the chain like icon in the middle row). Add the full URL to the Link Path and set the target to ‘Open in a new window’.
- While the image and text are highlighted centre them.
- Repeat steps 7-10 until the whole table is full (or you’ve run out of links).
- Click Submit
- Turn Edit mode off (top right hand of the page) to see what you page now looks like.
To make this page the default start page for your Blackboard paper:
- While logged into your paper go to Teaching Style in the Customisation section of your Control Panel (bottom left hand menu).
- Scroll down to ‘Select course entry point’ and select the page you created above.
- Click Submit
