3D Mapping
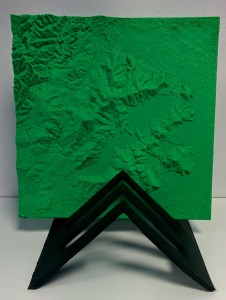
One of the small projects we’ve been working on over the last few weeks is printing out some 3D height maps (or terrain maps). We’re working with the Department of Geography, who are interested in using these in their first-year labs next year.
You may be familiar with Thingiverse, a website containing thousands of 3D models that you can download and print on a 3D printer. If you search for Dunedin, you’ll find a 3D elevation model created by Luke Easterbrook-Clark in the Geology Department. This was one of our first prints on the Makerbot and it turned out pretty well in high quality using ABS plastic (it curled a bit in the corners, but that’s a post for another day).
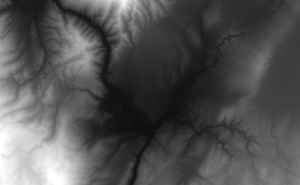
The next step was creating our own custom maps, which will eventually be of various locations around the South Island. First of all, you need a greyscale elevation map, where white is the highest elevation and black is the lowest, which you can extract from GIS software (such as ArcGIS); or by cropping an image from (for example) the Landcare Portal. I found that an a png file about 600x600px is ideal for a print about 20cm wide. Then, the image needs to be turned into an STL file – a 3D model. To do this, I used the Heightmap to STL script available on Thingiverse. The last step before printing was to repair the file in Netfabb to make sure all the edges are joined and there are no holes. I’ve glossed over a lot of the details here, so if you need any more information feel free to leave a comment.
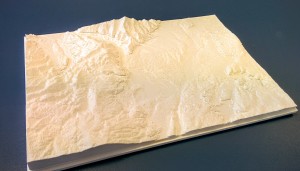
As for the print itself, it prints out fairly well on the Makerbot, high quality, using ABS plastic. However, our best results so far have been on the Up Box, using the fine quality setting, with PLA plastic. It takes about 14 hours to print a map approximately 20cm wide, so we left this job printing overnight. Below are the results.
If you’d like to talk to us about 3D printing, please get in touch.
3D Printers have arrived at eLearning
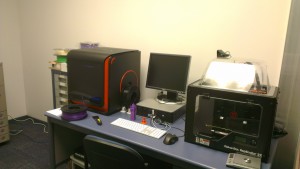
Teaching and Learning Facilities have purchased two 3D printers: a Makerbot Replicator 2x and an UP Box.
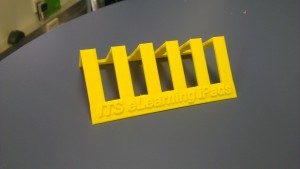
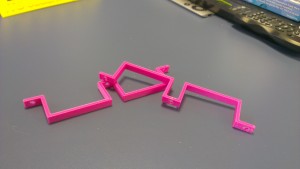
Over the last month or so we have been learning about what we can do with them to support the Teaching and Learning Facilities department, as well as how they can be used in teaching, learning and research (more on that in upcoming posts). A few examples of what we have designed and printed:
iPad stands
Brackets
These are just the first items we are printing – we are keen to print out as much as we can. If you have something you think might be worth printing, whether it’s for your teaching or your research please let us know, either by commenting below or getting in touch with the Service Desk.

