


A while ago, a friend gave me this can that she had been given as a novelty prize somewhere somehow.
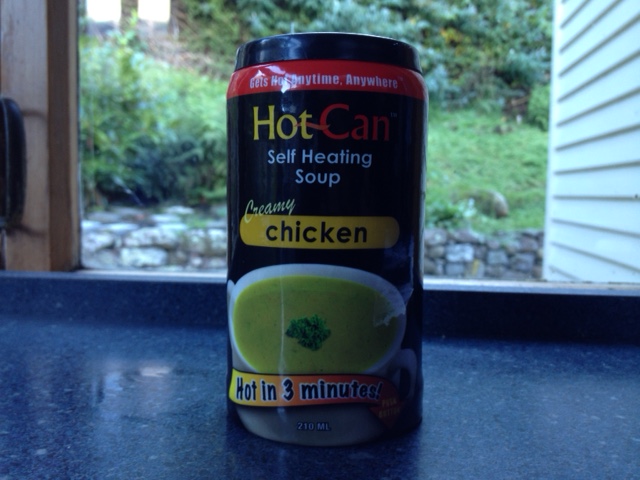
Anyway, because it was “science-y” she thought I might enjoy it.
I must admit it’s been sitting on the shelf for a wee while. Mostly because every time I look at it and think I should try it out, something else comes along to distract me. Also due to being vegetarian for most of my life, the contents of the can have never really screamed my name. Recently though, I have heard advertisements on the radio for a similar or possibly the same product. I decided to pull out the can and give it a try. I don’t eat meat so I decided to use my carnivorous children as taste testers.
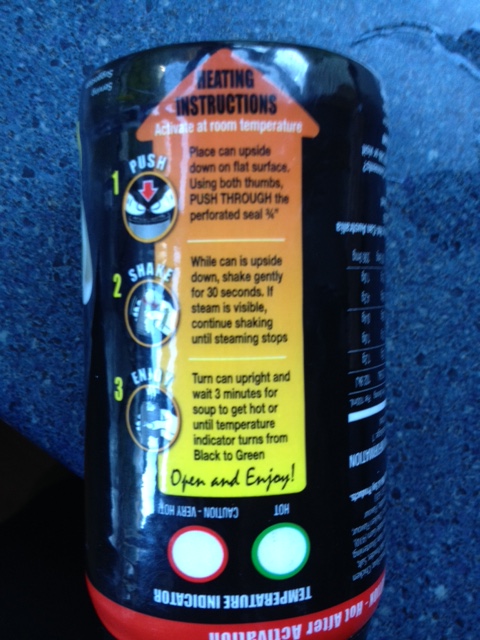
The can itself feels squishier than a regular can, like it is covered in foam under the label. I think the indicators on ours were not working because, as you can see, although the instructions said they would turn from black to green, both indicators were white initially.
Before we started, I went to the hotcan website to find out what was in there to produce the heat (water and calcium oxide) mostly because I wanted to cut the can apart after the experiment and didn’t want any chemical burn surprises
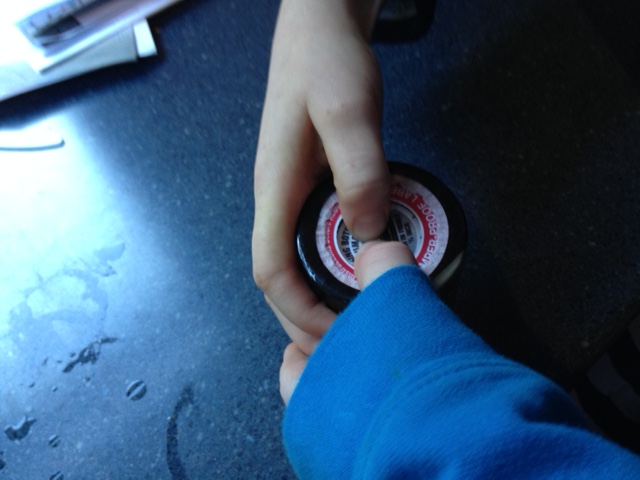
Pushing in the bottom of the can made a popping noise immediately.
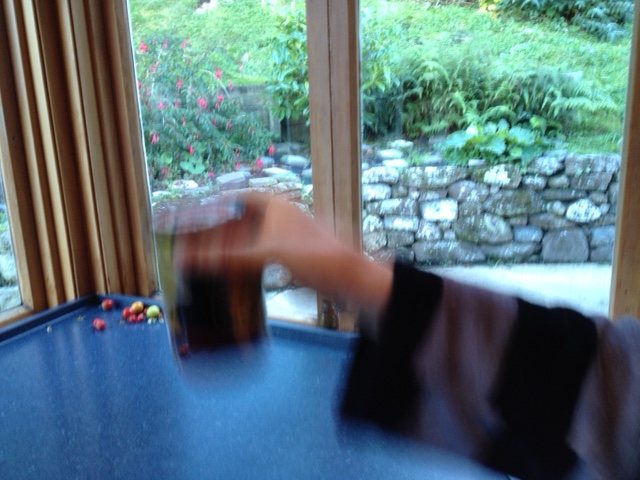
Shake it like a polaroid picture. We shook the can the required amount of time and then set it on the bench as specified in the instructions. Almost immediately, the can began to dance on the kitchen bench and steam was billowing out the bottom. (I told the kids to get back because I actually thought it was going to blow, thankfully this stopped fairly quickly)
After waiting the required time and using the ultra scientific method of feeling the can with our hands (broken indicator, remember?) we decided it was done and had a look/taste.
Reviews of the soup were favourable. The temperature was hotter than expected (said the tasters) there were no chunks, just a smooth soup. Taste was what you would expect from tinned soup. The boys did mention that there was less soup in the can than they had expected. The reason for this became clear when we opened up the can.
 Inside the can you can see there is a cylinder coming up through the centre of the can – presumably this is so the soup heats from the middle to the outer layer. The foamy consistency of the can is a layer of insulating foam between the label and the can which would help with the soup heating, staying hot, and not burning your mitts off when you hold the can.
When we took the bottom off we saw this:
Slightly hard to see from the image but it is like a bladder of what I assumed was water originally surrounded by a chunky white powder.
I asked the children (12 and 11) as I was writing today (2 days later) what if anything they had learned/remembered from this whole experience.
- Water and calcium oxide produce heat which is transferred to heat the soup. You have to shake it to make it work better
- When you burst the water packet, the water seeps into the calcium oxide, they must have measured the water and the calcium oxide so it produces only a certain amount of heat
An interesting and easy little experiment!
I found this Limestone Lesson Plan on the Royal Society of Chemistry website and thought it could be paired with the hot can for a great Chemistry lesson. Look at the Chemistry of Limestone lesson (which includes heating the limestone to make calcium oxide and then testing it with water to see the exothermic reaction) and then apply the knowledge to how the hot can product works.
Recent Comments