
Roll over readings from a previous eReserve list
There is an issue playing the videos on this site at the moment in Chrome and Edge browsers. Firefox works fine. We are working a solution.
Watch the 5-minute video for a quick guide or read the instructions below.
How create, roll over and publish eReserve reading lists
- Enter your eReserve reading list.
- If there is no published list for the course you will see this when first entering eReserve.
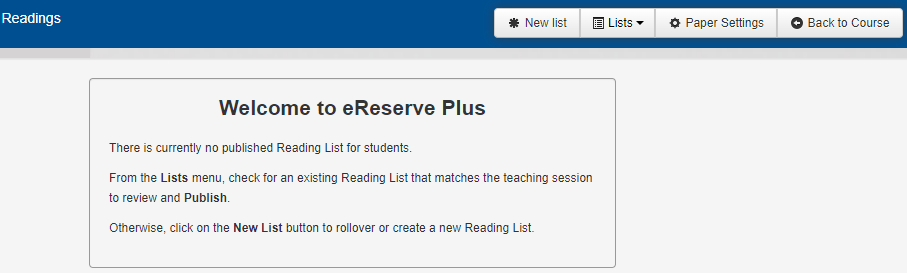
» Select the Lists button to see lists past and present for the course. There may be a list for the period you want that has not been published. Selecting that from the drop down will show the list on screen (see step 3).
» Select New List to create a new list or roll over a previous one (see step 6). - If you have a current list that isn’t published it will appear as below.

To the left the green active icon will show (red box highlight above) but the Publish action button displays (green box), which means the list is not published and students won’t see it. - Select Publish to publish the list, which will display a confirmation dialogue box.
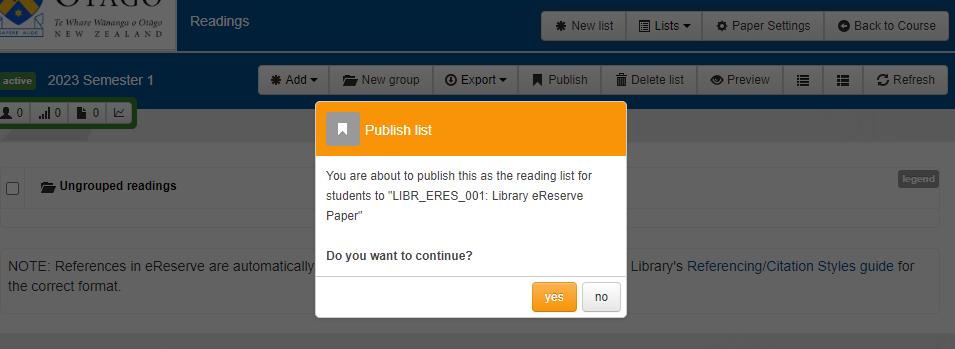 In many cases lists will automatically publish when you create it, but this depends on some settings. If it doesn’t auto-publish you will have to follow the manual step above.
 - When the list is successfully published the Withdraw button will display in place of the Publish button.
- When rolling over a previous list there are three basic parts to the process: Teaching period/Duration, Readings and Confirmation.
- Select the teaching period (or Duration):
- Predefined offers the standard teaching periods. Make sure the dates match what you need in terms of when students access the list.
- Custom allows you to name your list and select your own dates.
TIP: for a custom list name, call your list something that indicates when the paper is offered (e.g. when you come to do roll over again in the future it’s better to have a list called ”Term 1 2019′ than one called ‘My list’ or ‘Readings’)
- Select Next at the top of the screen to advance to the Readings step.
- To create a new blank list with no readings just select the orange Skip button at the top-right.
- To use a previous list, under the Paper drop-down on the left, start typing the code or name of your paper and a filtered list will appear for you to select your course.
- Under the Reading list drop down to the right, select from previous lists associated with the paper.
- Your readings from that previous offering will load underneath. You can select all readings in the list using the All button (and None to deselect all).
- Review the number of times students accessed the readings with the green counter to the right of each reading.
- Individually select or deselect groups and/or readings using the check boxes on the left-hand side.
- When you have made your selections, select Next at the top-right again.
- This presents the Confirmation screen. Select Back to change something or Create to set up the new list. If your list is large you will get a pop-up message informing you that it will take a few moments and that you will get an email when your list is ready.
- When your new list appears, check the publication status (as per steps 2 – 5 above).
You can then add readings and organise your list as normal.