
Organise your reading list
Watch our walkthrough video for a visual demonstration or follow these instructions.
Adding group headings
- In eReserve, select New group.
- Type a name in the box that appears.
- Select the ‘tick’ icon. Your new group will appear in the main window. You can create as many groups as you like, dragging readings between them.
- Edit a group’s name by selecting the pencil icon next to the group name in the main window.
- Select-and-hold group headings to drag them into the order you want.
Moving readings around / ordering your list
Once you have readings in your list you can move them in two ways.
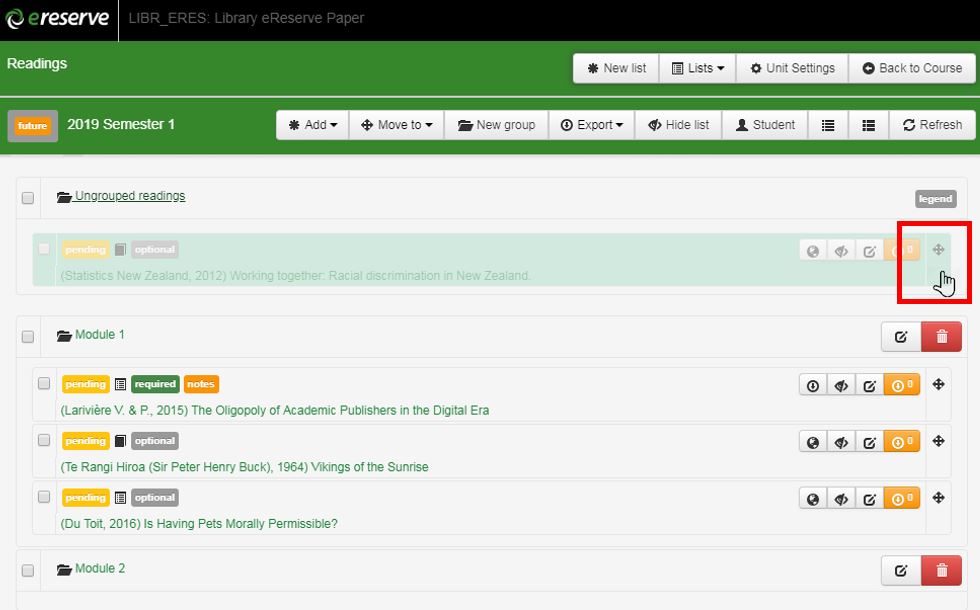
- Use the ‘grab’ icon on the right-hand side of each reading (shown in the red box in the screen shot below). Select-and-hold, move to where you want the reading (hovering over a group heading or placing it among the readings in a group) and drop it. You can select and move multiple readings at once using the check boxes on the left-hand side.
 2. Or you can select readings using the check boxes on the left-hand side and use the Move to menu at the top of the page, thus avoiding any drag-and-drop maneuvers, which can be tricky on long lists or on mobile devices.
Whole groups of readings can be moved at once by moving group headings as described above in the final bullet point explaining how to use group headings.